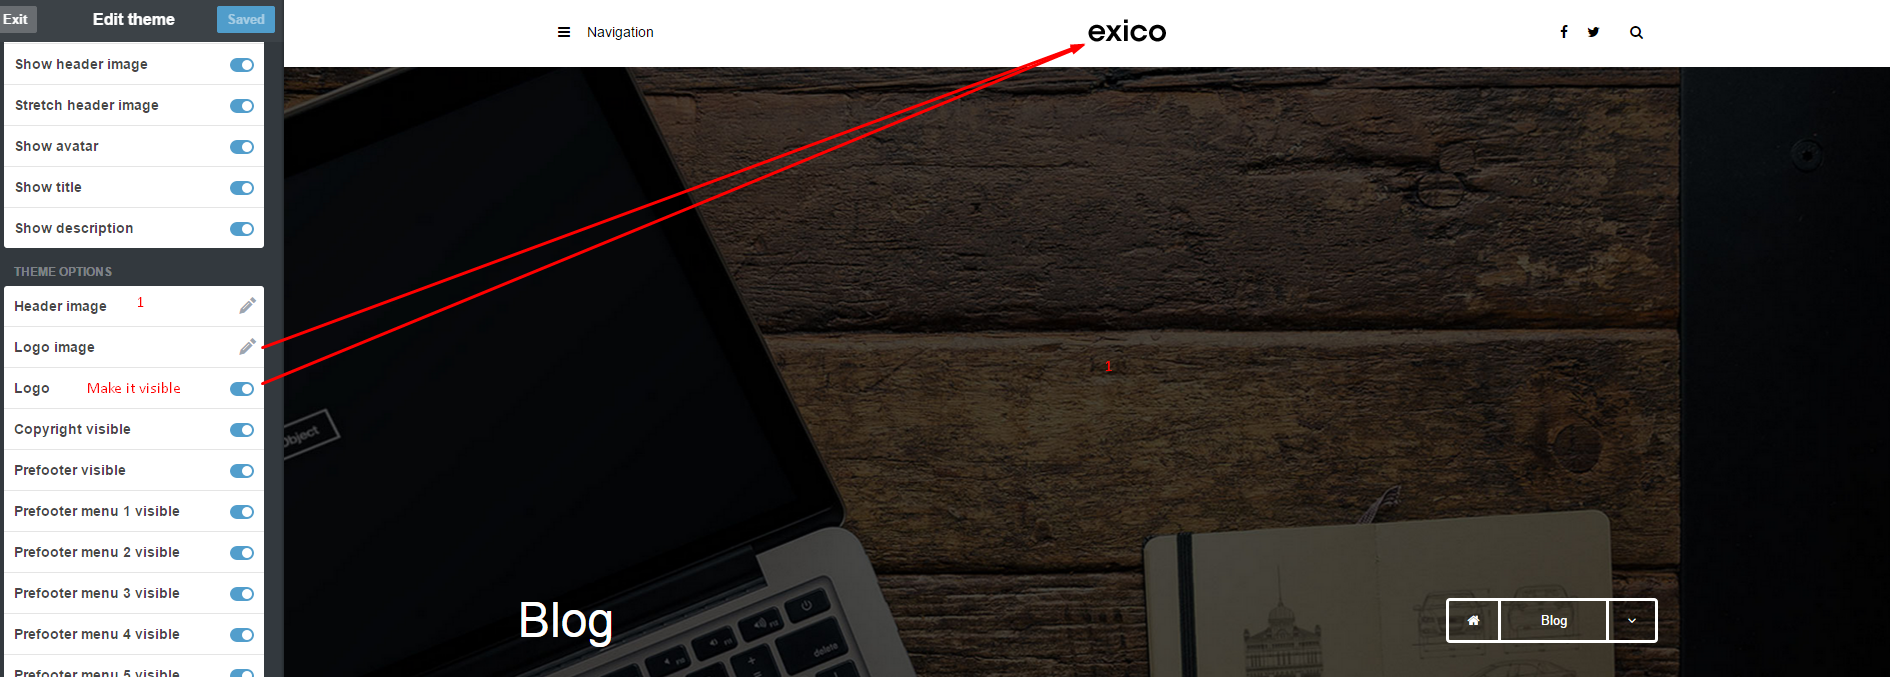
1. After installing the theme you will be able to define and change number of settings. At the beginning you can setup general theme options, like:
- Header image – you can setup here custom image displayed in header background.
- Logo image – setup your logo image here.
- Logo – show or hide the logo from the header
- Copyright – Copyright text for prefooter section, can be displayed on hidden.
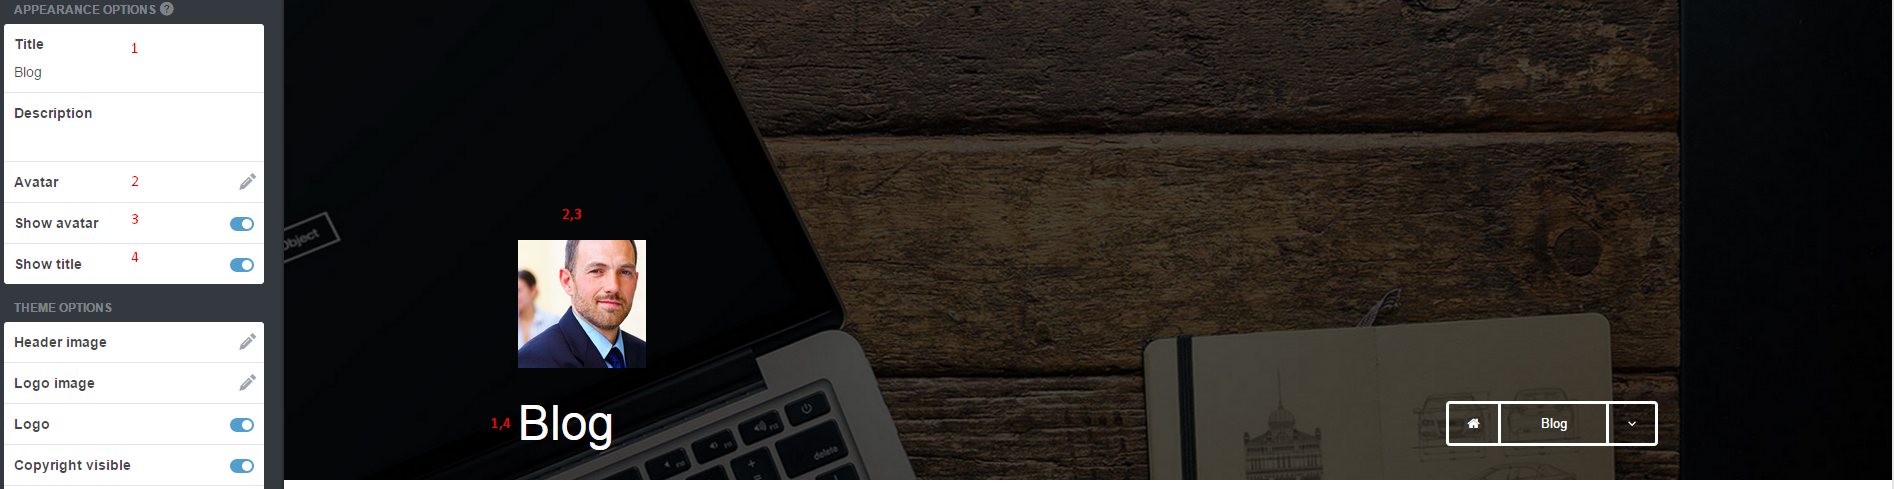
2. Appearance Options
- Title – define your website Title, by default it’s setup to Blog
- Description – define custom website description.
- Avatar – add an image with your avatar.
- Show avatar – hide/show your avatar,
- Show title – show/hide blog title in page header
3. Theme Options – you can define also more detailed settings, like the following:
Change blog displaying options to Masonry type:


4. Socials
You can define your social media services address by adding proper URLs. If you would like to display Flickr images – just define here link to your gallery of images.
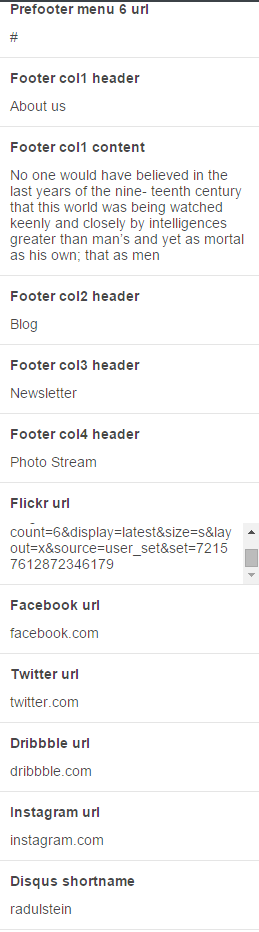
5. Footer
- 1. – enable/disable footer,
- 2. , 3. , 4. , 5. – enable/disable columns titles,
- 6. – enable/disable Flicker images,
- 7. , 8. , 9. , 10. – enable/disable social media icons.
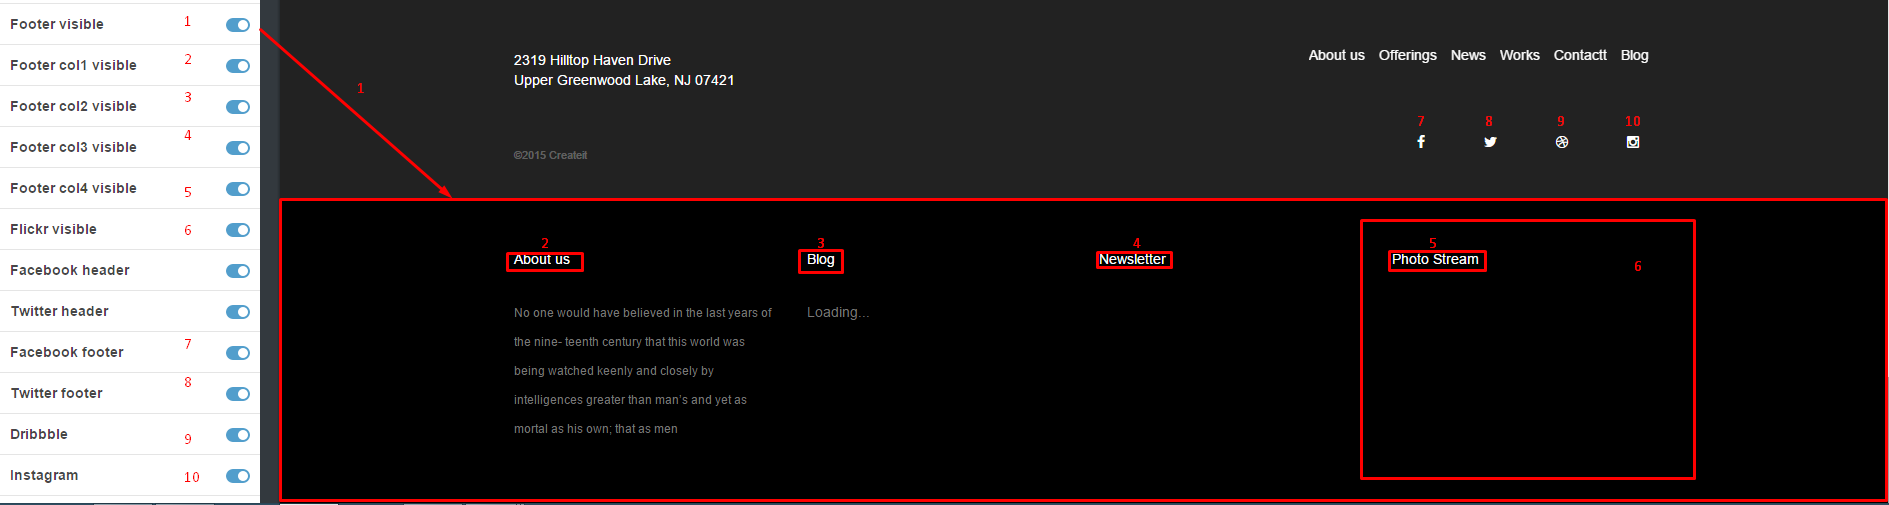
Footer settings
- 1. , 3. , 4. , 5. – define custom header names,
- 2. – add your custom text content,
- 6. – define url to your Flickr gallery,
- 7. , 8. , 9. , 10. – define urls to social media services,
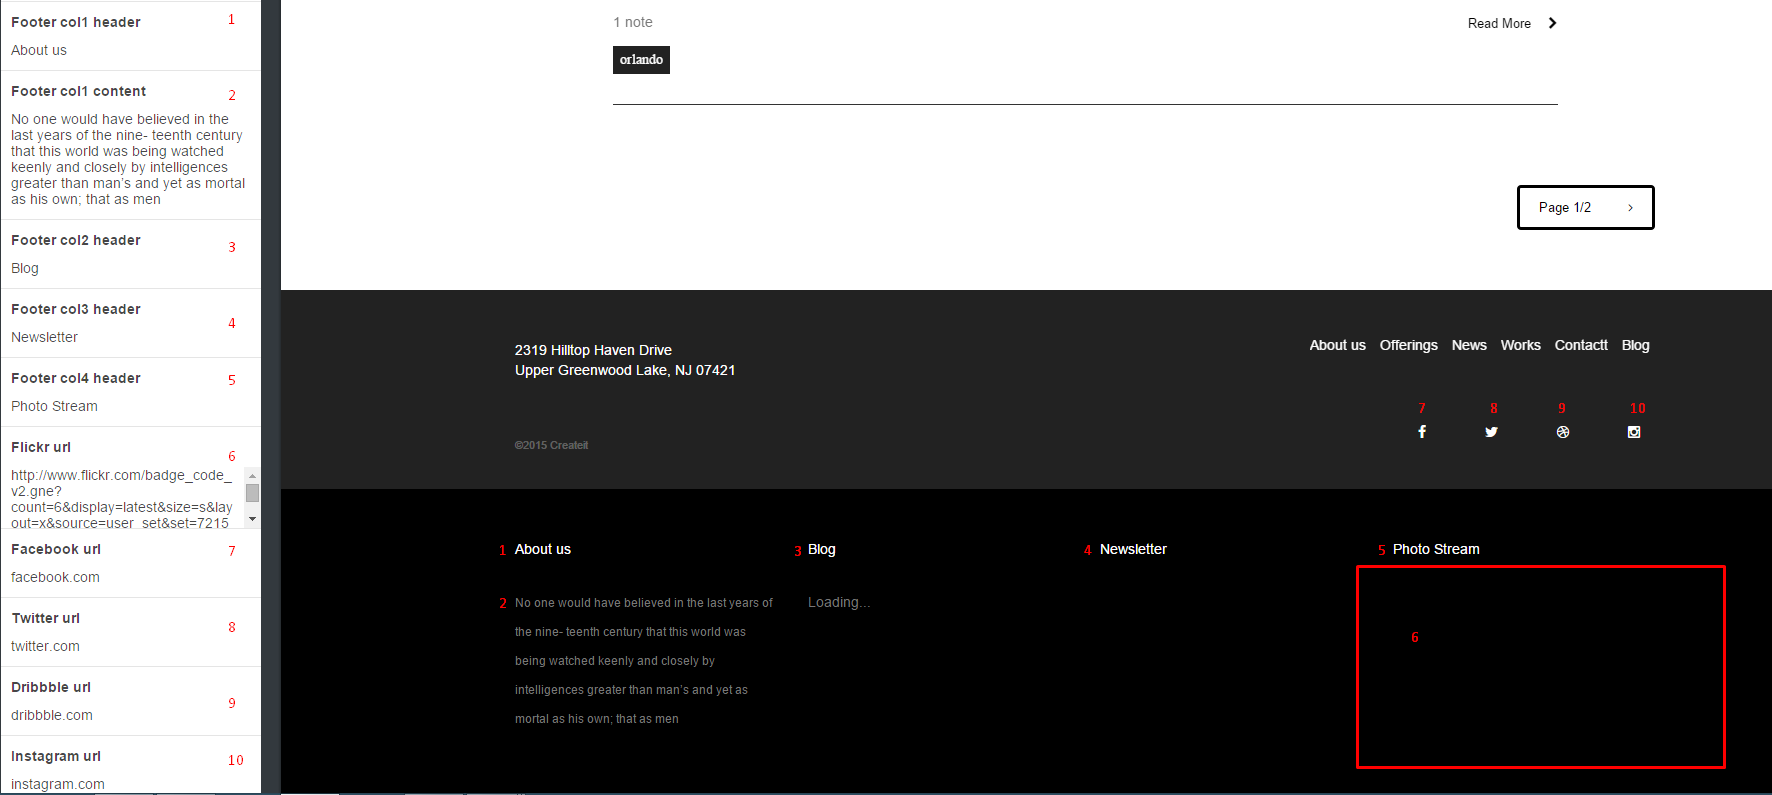
Footer settings -part 2
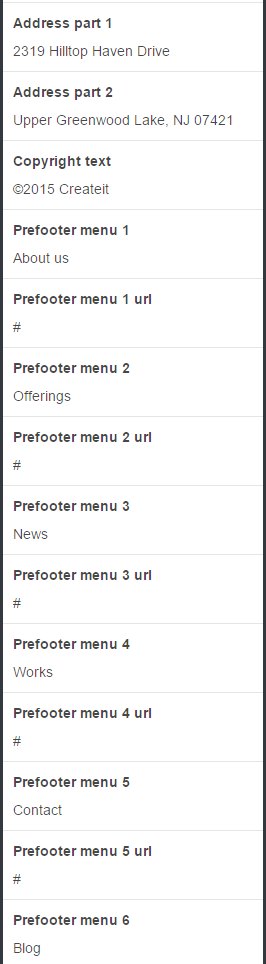
6. Prefooter
- 1. – enable/disable Copyright text.
- 2. – enable/disable prefooter.
- 3. , 4. , 5. , 6. , 7. , 8. – enable/disable menu options

PreFooter
- 1. Edit Copyright text.
- 2. ,4. ,6. ,8. ,10. ,12. – edit menu options names
- 1. , 3. , 5. , 7. , 9. , 11., 13. – add url to each menu options

PreFooter
Define your address:

PreFooter