

Theme Installation
1. Open index.html in /ExicoTumblrTheme/ folder with your text editor (Example: Notepad++, Sublime Text, Php Storm or Etc)
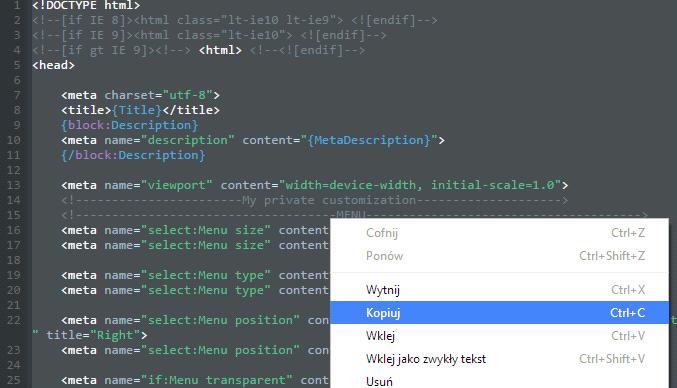
2. Copy all HTML content from index.html file
Installation
3. Open your browser and go to the http://tumblr.com page. If you are registered please login into your Tumblr Dashboard
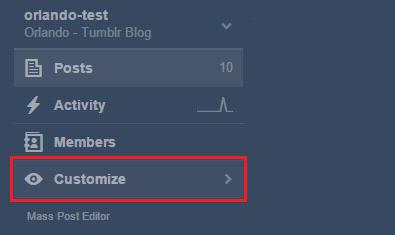
4. Please click on the Gear Icon at right top of the site
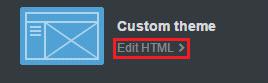
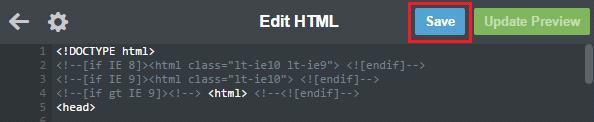
5. Click on the Edit HTML button, like this:
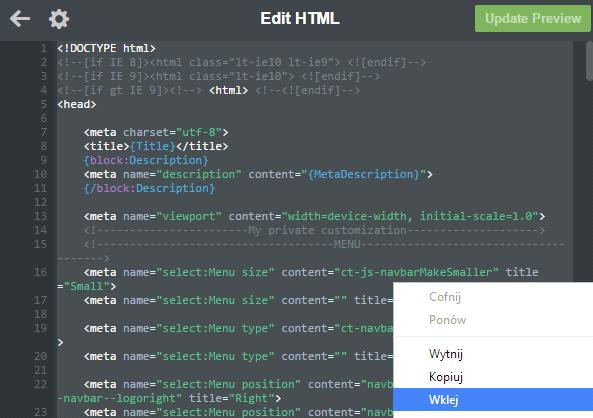
6. Next, paste the HTML code into Tumblr theme editor like below:
7. Finally, please click to the Update Preview button and save
Was this article helpful ?
Mobile View
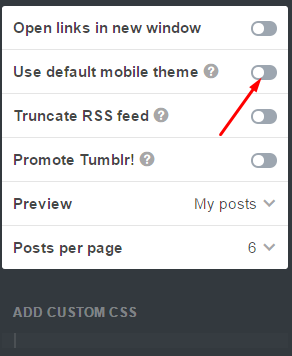
1. Our theme has default mobile layout. We have own mobile design, so you have to disable standard mobile layout. To do this, please click Advanced Options in the bottom of the side.
2. Click or disable use optimized mobile layout. To do this you have to disable option Use default mobile theme
Mobile view settings
3. Finally, please click Save button. Now you have your own mobile layout.
Was this article helpful ?
Exico – Theme Options
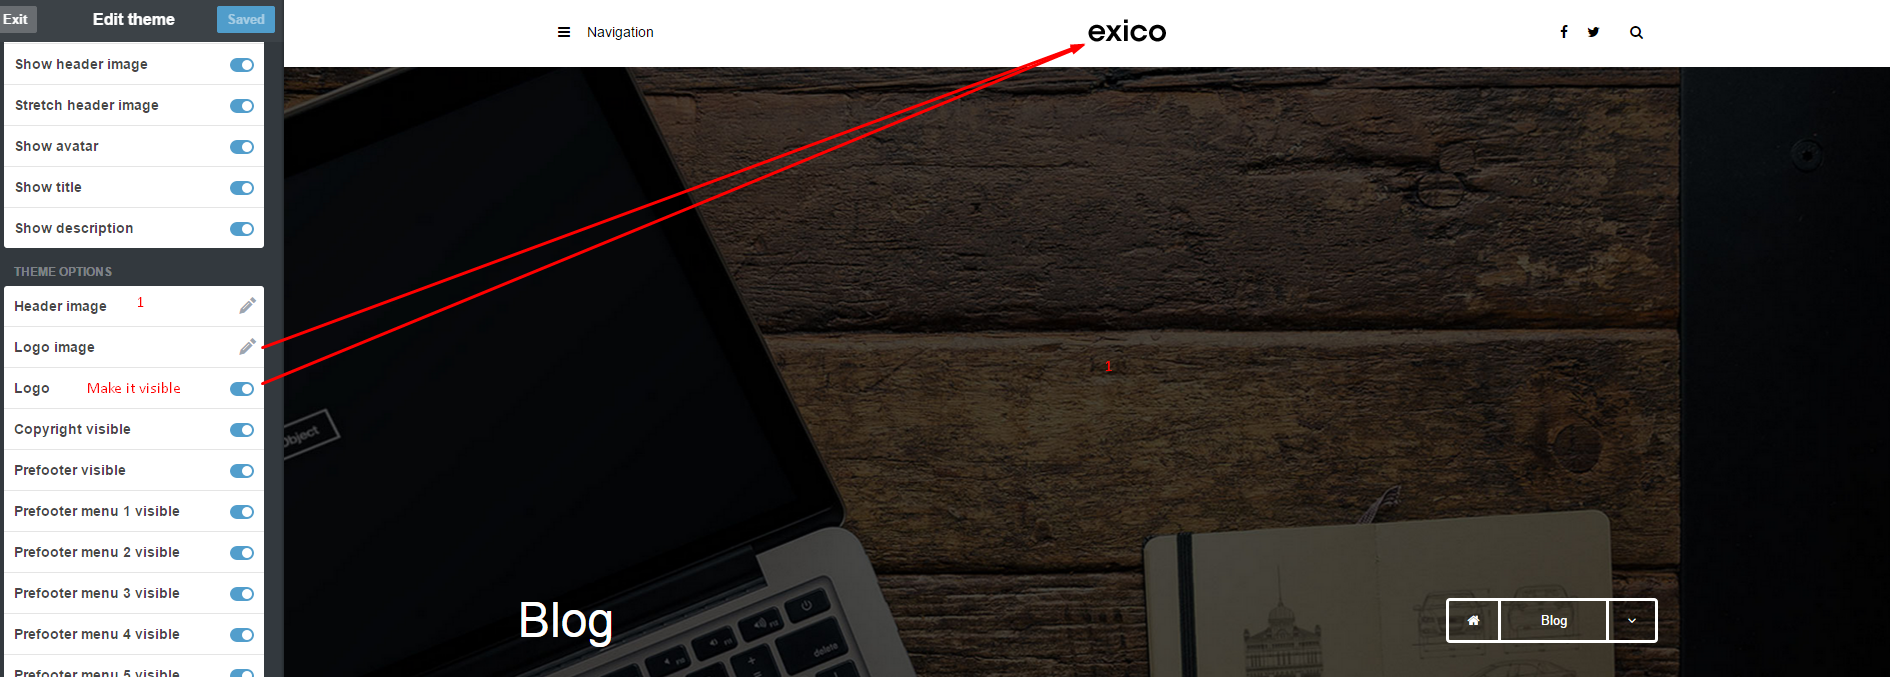
1. After installing the theme you will be able to define and change number of settings. At the beginning you can setup general theme options, like:
- Header image – you can setup here custom image displayed in header background.
- Logo image – setup your logo image here.
- Logo – show or hide the logo from the header
- Copyright – Copyright text for prefooter section, can be displayed on hidden.
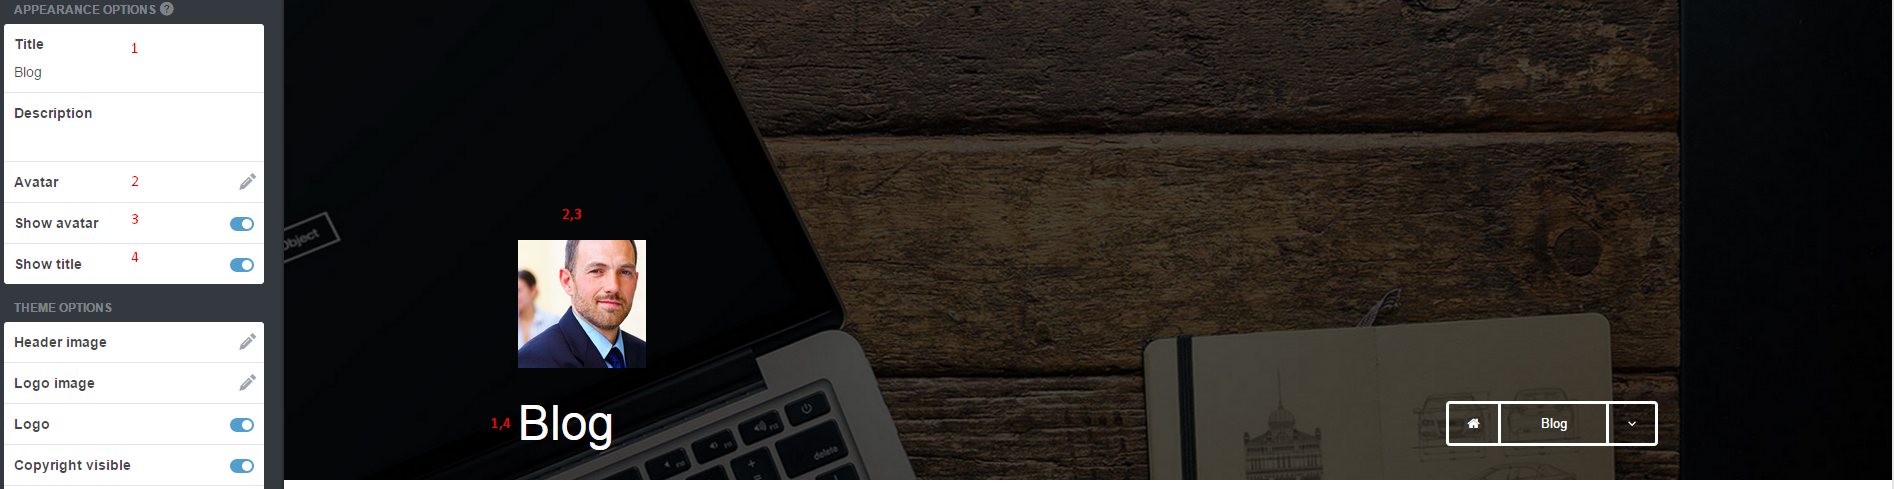
2. Appearance Options
- Title – define your website Title, by default it’s setup to Blog
- Description – define custom website description.
- Avatar – add an image with your avatar.
- Show avatar – hide/show your avatar,
- Show title – show/hide blog title in page header
3. Theme Options – you can define also more detailed settings, like the following:
Change blog displaying options to Masonry type:


4. Socials
You can define your social media services address by adding proper URLs. If you would like to display Flickr images – just define here link to your gallery of images.
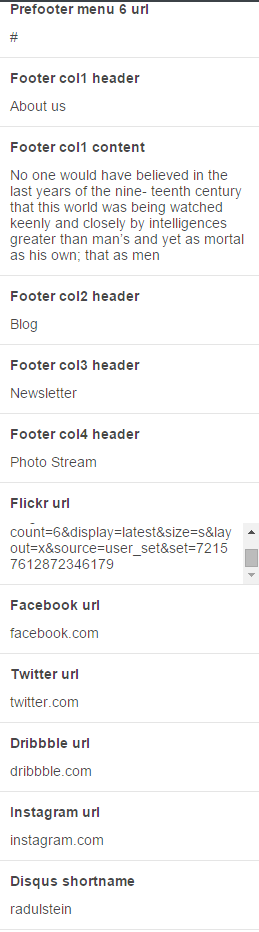
5. Footer
- 1. – enable/disable footer,
- 2. , 3. , 4. , 5. – enable/disable columns titles,
- 6. – enable/disable Flicker images,
- 7. , 8. , 9. , 10. – enable/disable social media icons.
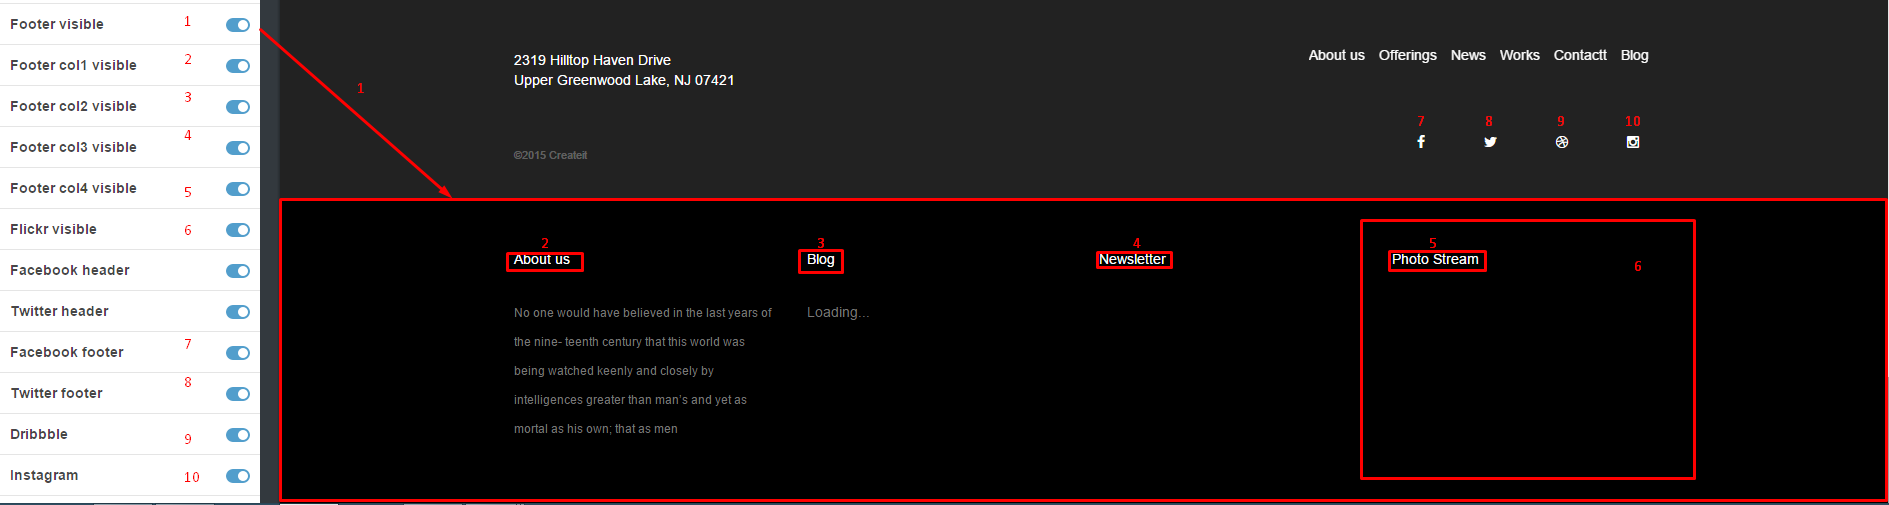
Footer settings
- 1. , 3. , 4. , 5. – define custom header names,
- 2. – add your custom text content,
- 6. – define url to your Flickr gallery,
- 7. , 8. , 9. , 10. – define urls to social media services,
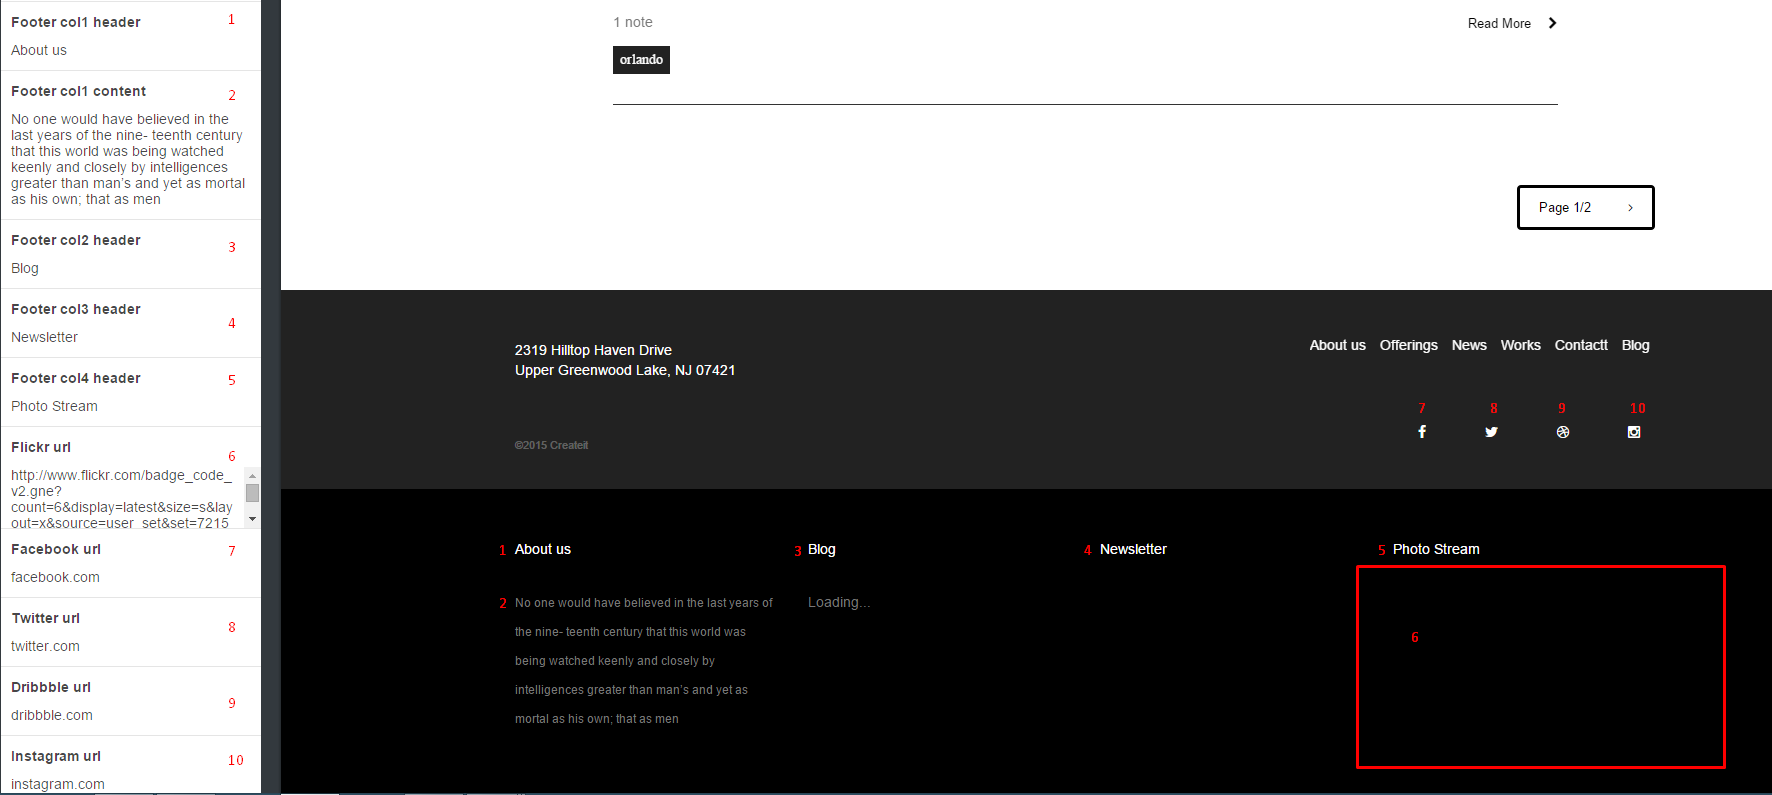
Footer settings -part 2
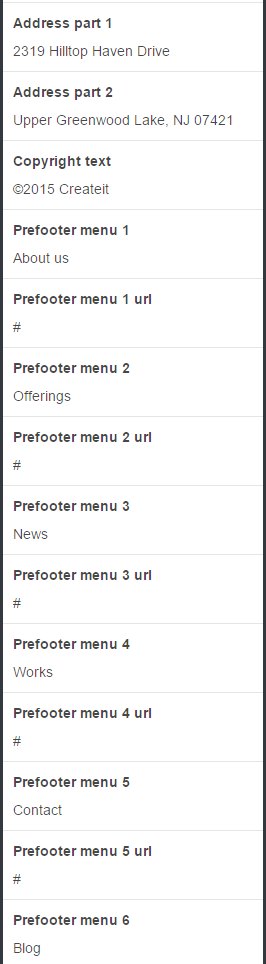
6. Prefooter
- 1. – enable/disable Copyright text.
- 2. – enable/disable prefooter.
- 3. , 4. , 5. , 6. , 7. , 8. – enable/disable menu options

PreFooter
- 1. Edit Copyright text.
- 2. ,4. ,6. ,8. ,10. ,12. – edit menu options names
- 1. , 3. , 5. , 7. , 9. , 11., 13. – add url to each menu options

PreFooter
Define your address:

PreFooter
Was this article helpful ?
Custom Pages
If you want to make a custom pages, please follow this tutorial:
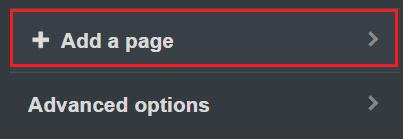
1. Please stay to your custom theme menu, and scroll down until very bottom of the menu. You should see the Add a page menu.
2. Enter the details you need for your new page. In our theme we have a following list of custom pages:
– contact-us
– about-us
– services
3. If you want to have a following list of custom pages like above, just follow instructions. Here is an example how to add a page-blank to the our theme:
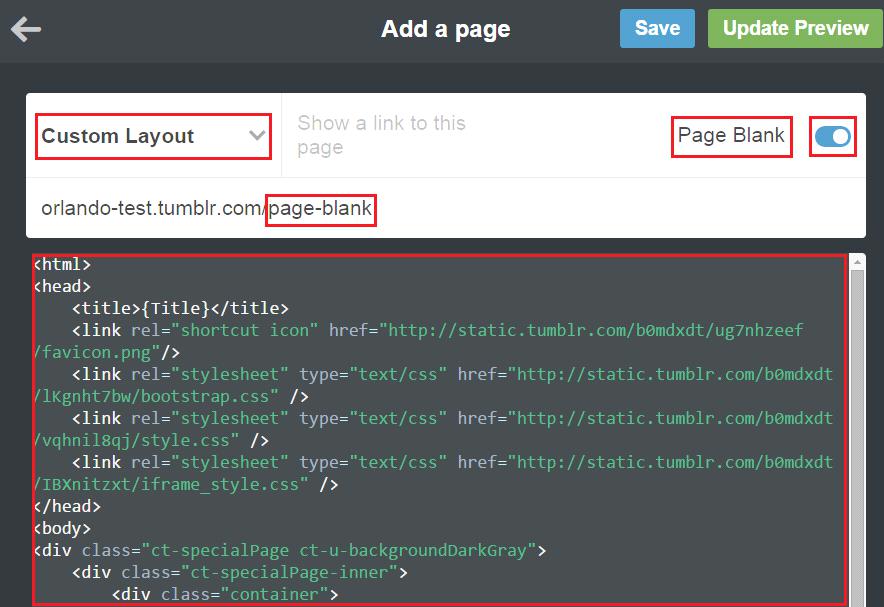
4. The content of the custom page is from page blank file. You will find this file in /ExicoTumblrTheme/folder or in /ExicoTumblrTheme/ folder. It’s depend of the user. If ther user want to have light version so please choose light, if not please choose different.
5. After that, click Update Preview and Click Save buton

6. Finally, the Custom Page will be displayed when you go to the menu and select Pages -> Page Blank. To add next custom pages you have to do the same like with Page Blank.
Was this article helpful ?
Javascript and CSS
USED CSS stylesheets:
- style.css – main Exico theme stylesheet,
- bootstrap.min.css – bootstrap styles.
If you would like to use FontAwesome for icons – you need to attach it separately with the following code:
|
1 2 |
<link rel="stylesheet" href="//maxcdn.bootstrapcdn.com/font-awesome/4.3.0/ css/font-awesome.min.css"> |
Main style – make sure it’s included in head section when you clicking on Edit HTML
|
1 2 3 4 5 6 7 8 9 10 11 12 13 14 15 16 17 18 19 20 21 22 23 24 25 26 27 28 29 30 31 32 33 34 35 36 37 38 39 40 41 42 43 44 45 46 47 48 49 50 51 52 53 54 55 56 57 58 59 60 61 62 63 64 65 66 67 68 69 70 71 72 73 74 75 76 77 78 79 80 81 82 83 84 85 86 87 88 89 90 91 92 93 94 95 96 97 98 99 100 101 102 103 104 105 106 107 108 109 110 111 112 113 114 115 116 117 118 119 120 121 122 123 124 125 126 127 128 129 130 131 132 133 134 135 |
<style> /*Group button*/ .btn-group span{ cursor: context-menu; } span.btn.ct-btn--transparent:hover{ background-color: transparent; color: #000000; } /*Article box*/ .ct-articleBox-media img{ height: auto; } .video-wrapper iframe, iframe.soundcloud_audio_player{ width: 100%; } /*Reblog link*/ a.reblog-link{ display: none; } a.tumblr_blog{ position:relative; background-color: #000000; color:#ffffff; padding: 5px; margin-left: 14px; } a.tumblr_blog:before{ content:""; border-top: 0px solid transparent; border-bottom: 29px solid transparent; border-left: 14px solid #000000; position: absolute; left: 100%; top: 0; } a.tumblr_blog:after{ content: ""; border-top: 29px solid transparent; border-bottom: 0px solid transparent; border-right: 14px solid #000000; position: absolute; right: 100%; top: 0; } div.link-host{ padding: 5px; border: 1px solid #000000; display:inline; color:#000000; } /*Chat post*/ ul.conversation{ padding-left: 0px; list-style: none; text-align: left; } ul.conversation > li.chat-odd,ul.conversation > li.chat-even{ margin-left: 0px !important; } ul.conversation .label{ background-color: #000000; } /* tumblr video --> */ .tumblr_video_container{ width: auto !important; height: auto !important; } /*Masonry --> */ .ct-gallery-item.ct-gallery-item--masonry img{ height: 50%; } /* <-- masonry */ .widget{ border-bottom: 1px solid #333333; } .tags.tagcloud{ padding-left: 0px; } .tags.tagcloud li{ display: inline-block; } .btn-link{ color: #000000; } #posts .post-wrapper .post .panel{ box-shadow: none; border: none; border-radius: 0px; margin-bottom: 0px; } .post-controls .controls-wrapper .control{ display: inline-block; padding-right: 15px; margin-left: -10px; } /* Custom CSS */ {CustomCSS} </style> |
Used Javascripts:
- main.js – main javascript file,
- bootstrap.min.js – responsible for website responsiveness,
- device.min.js – required for mobile menu,
- jquery.browser.min.js – support for old IE browsers,
- snap.min.js – required for mobile menu
- jquery.appear.js – required for animations,
- init_mediasection.js – responsible for parallax effect,
- jquery.stellar.min.js – responsible for parallax effect,
- jquery.magnific-popup.min.js – used for magnific lightbox,
- init_magnific.js – used for magnific lightbox,
- jquery.isotope.min.js – required for masonry effect,
- imagesloaded.js – required for masonry effect,
- infinitescroll.min.js – required for masonry effect,
- init.js – required for masonry effect,
Required script – make sure that this code is always included after last attached script:
|
1 2 3 4 5 6 7 8 9 10 11 12 13 14 15 16 17 18 19 20 21 22 23 24 25 26 27 28 29 30 31 32 33 34 35 36 37 38 39 40 41 42 43 44 45 46 47 48 49 50 51 52 53 54 55 56 57 58 59 60 61 62 |
<script type='text/javascript'> var flickr = $('.flickr_badge_image a'); flickr.addClass('ct-galleryBox-overlay'); var Tumblr = Tumblr || {}; Tumblr.RecentPosts = function(el, postsCount) { var apiUrl = "http://" + document.domain + "/api/read/json?callback=?&filter=text&num=" + (postsCount || 10); var titleTypes = { regular: "regular-title", link: "link-text", quote: "quote-source", photo: "photo-caption", conversation: "conversation-title", video: "video-caption", audio: "audio-caption", answer: "question" }; var renderPosts = function(posts) { return $.map($.map(posts, postInfo), renderPost); }; var renderPost = function(post) { return "<li><a class='post_footer' href='" + post.url + "'><i class='fa fa-link'></i> " + post.title.substr(0,40) + "...</a></li> <small class='ct-u-fontType-2'>"+ post.date+"</small>"; }; var postInfo = function(post) { var titleType = titleTypes[post.type]; if (titleType in post) { return { title: post[titleType], url: post["url-with-slug"], date: post["date"], type: post["type"] }; } }; return { render: function() { var loadingEl = $("<div>").text("Loading...").appendTo($(el)); $.getJSON(apiUrl, function(data) { loadingEl.remove(); $("<ul class='recent-posts'>").appendTo($(el)) .hide().append(renderPosts(data.posts) .join("")).slideDown('slow'); }); return this; } } }; $(function() { new Tumblr.RecentPosts($("#recent-posts"),2).render() }) </script> |
OHTER:
Contact form
The contact form was made using on-line contact form builder. The documentation is here:
http://www.jotform.com/myforms
Disqus for tumblr – comments for each posts are displayed with:
Was this article helpful ?
Sources & Credits
The following sources and files have been used to build up this theme
Twitter Bootstrap – http://twitter.github.com/bootstrap/
jQuery – http://www.jquery.com
Was this article helpful ?