Create Sample Icon Box
To make Icon Box the same as below, follow these steps:

- Step 1 – Create a row section.
- Step 2 – Click on Edit Row option, in the Design Options Tab add the background image from the Media Library.

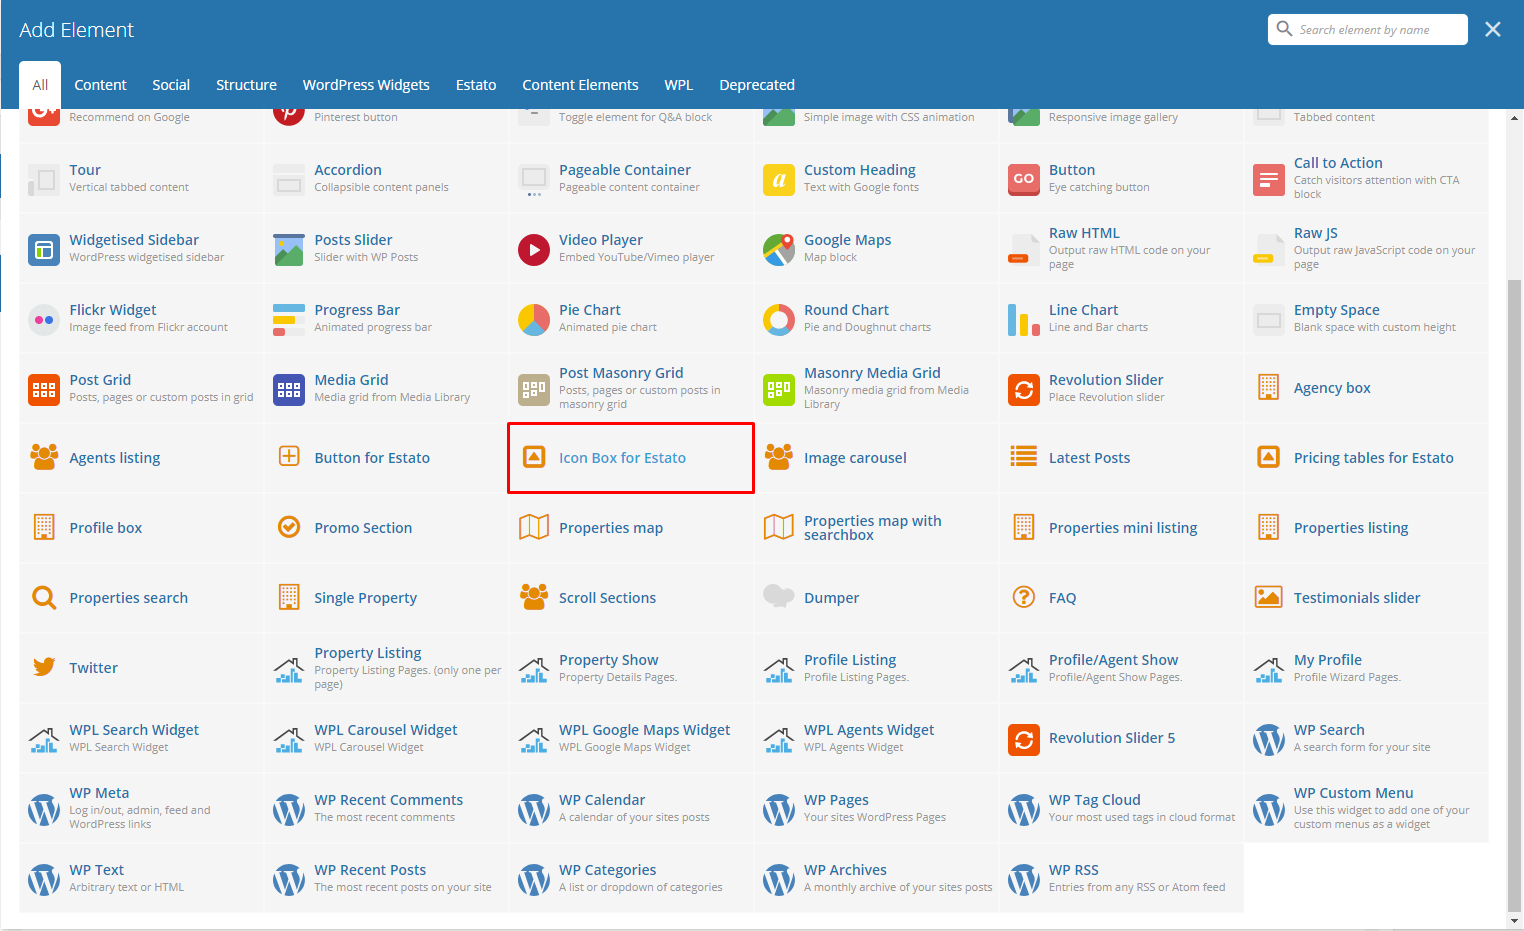
- Step 3 – Add Icon Box for {Theme} element inside the row created using the Add Element option.
- Step 4 – Set the elements options as you wish.
- Step 5 – Once satisfied with the result, click on Publish button to save.
Create Sample Promo Section
To make a full width Promo Section, follow these steps:
- Step 1 – Create a row section. Click on the Edit Row option, the Row Settings will pop-up. In the General Tab change the Row stretch to Stretch row and content.

- Step 2 – Add Promo Section element inside the row created.

- Step 3 – Set the options as you like.
- Step 4 – Once satisfied with the result, click on Publish button to save.
Create Sample Twitter Section with Background Image
To create a Twitter Section with a static background image, follow these steps:
- Step 1 – Create a row section then click on the Edit row option.
- Step 2 – In the Design Options tab of the Row Settings, add the background image from the Media Library or Upload an image.

- Step 3 – Add Twitter Element to the row and set options as needed.
- Step 4 – Once satisfied with the result, click on Publish button to save.
Create Sample Scroll Sections

To create a Scroll Section the same as the one above, follow these steps:
- Step 1 – Add row to your page and change the Row Layout to 1/4 + 3/4. This way you will be able to add Scroll Section and the content to different columns and set them next to each other.

- Step 2 – Add any content you want to the columns on the right.

- Step 3 – Add an ID to each Inner Row Settings section you want your menu to be able to move to. Remember: Each created ID must be unique, and it is valid as w3c specification: link (Must not have spaces)

- Step 4 – Add Scroll Section Settings item to the columns on the right and for the Section names use the same names as the one used for the Row’s id.
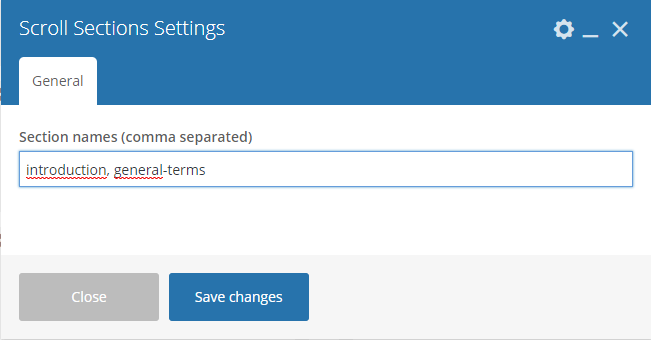
- Step 5 – Once satisfied with the result, click on Publish button to save.
Remember: to make this element work correctly you must copy the exact same names as used in the ID and add them in the same order as they are set in the right section.
Create Sample Testimonial slider

To recreate the same slider on your own, follow these steps:
- Step 1 – Create a row section, then click on the Edit row option.

- Step 2 – In the General tab, set the Row stretch option to Stretch row and content.

- Step 3 – Go to Design Options tab and set the Background color of your choice. The one used in our demo is : #60a7d4

- Step 4 – Add Testimonial slider element inside the row created. Set the options as you like.
- Step 5 – Once satisfied with the result, click on Publish button to save.