To create a new Property item in {Theme}, follow the steps:
Note: All information that has an (*) is required.
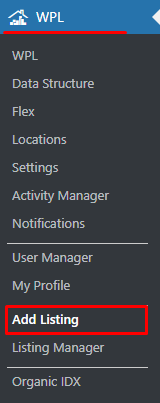
- Step 1 – To start creating this element, please go to WPL > Add listing in your WordPress Dashboard. The page Add/Edit Property will show.
- Step 2 – In the Basic Details tab, add the information about the new property that will be useful and important. Information like Meta description and Meta keywords will be added automatically.

- Step 3 – In the Features tab, add the property features.

- Step 4 – In the Appliances tab, specify all appliances that are available in the property.

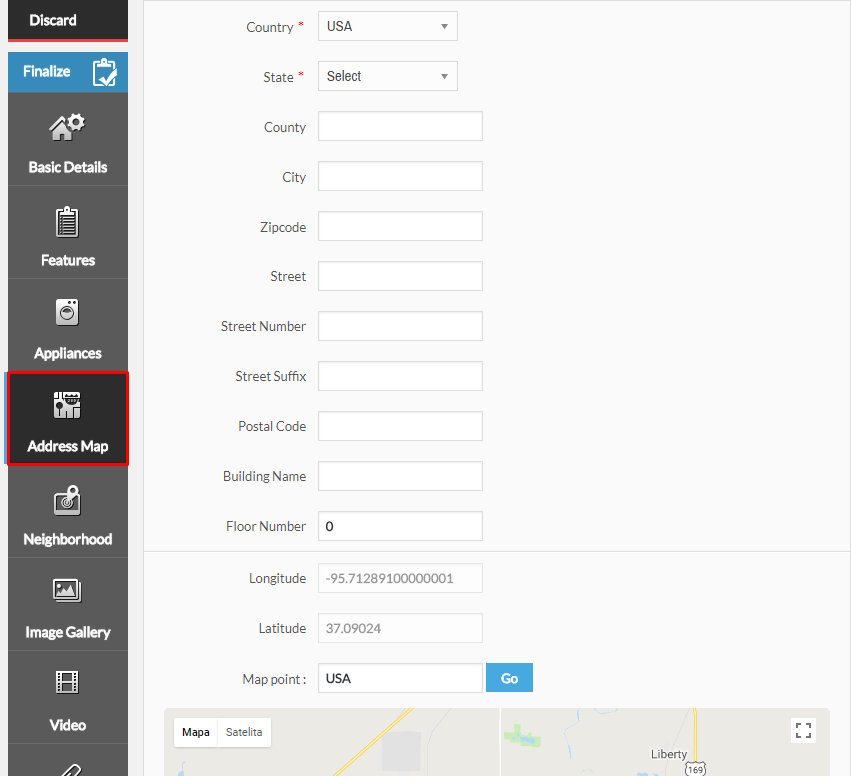
- Step 5 – In the Address Map tab, add the property’s address that will be shown on the map.
- Step 6 – The Neighbourhood tab is where you can add information about the important landmarks in the property’s neighbourhood.
- Step 7 – You can add images of the property in the Image Gallery tab.
 Add details about the image that is added for the property.
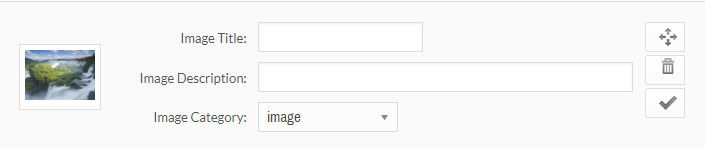
- Step 8 – If you wish to attach a video or file, go to Video and Attachments tabs. You can also select options from the Specialties tab.

- Step 9 – After all the information are added click on Finalize, so all the changes will be saved.
