Please note that upon plugin activation there are two sample size guides created, for a quick start you can just edit them!
To create a new size guide:
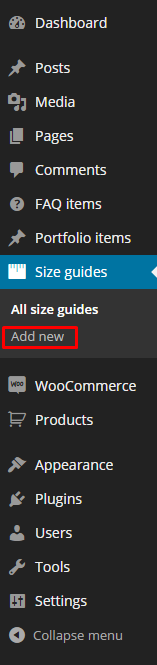
Go to Size guides > Add new in your WordPress Admin Panel
Create a new size guide
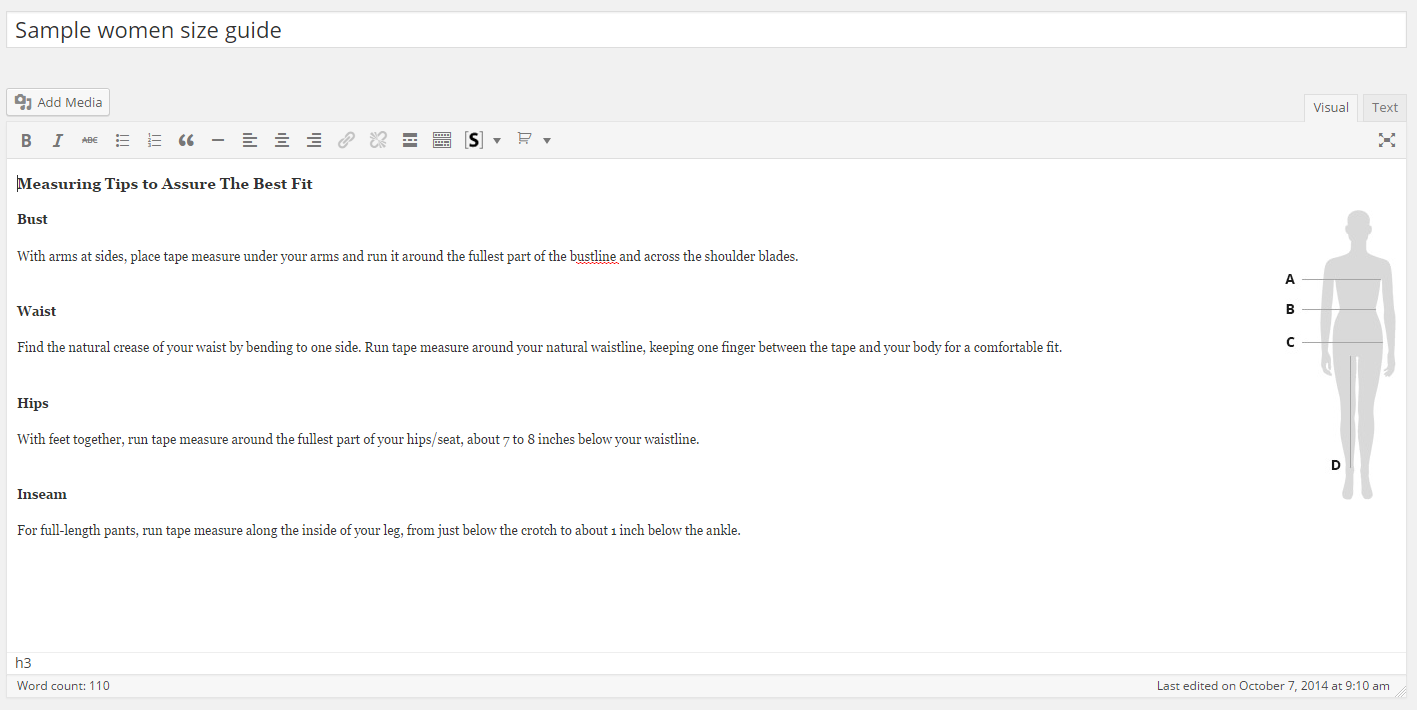
Insert a title and content
Fill size guide content
Title will be the name of the size guide. In the content, you can for example describe how a customer can measure its sizes properly.
Fill the size guide

Fill the size guide table content
In the sections 1 and 3 you can specify a table header and a caption.
To add/remove columns and rows just use the plus/minus buttons (inside red squares on the screenshot). Right, it’s as simple as that!
Fill table cells by just clicking on them and inputing the text.
Everytime you create a size guide there is a basic 4×4 table attached to make your work easier.
If you wish to add or remove added extra table use the Add Table or the Remove Table button (2)
Publish it and go to the next section
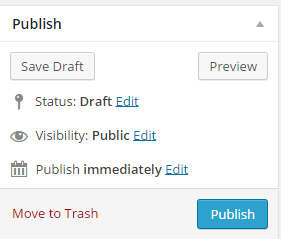
Publish the size guide