To use this option, you need to have installed (WordPress Multilingual Plugin) WPML plugin, which you can buy here.
This plugin isn’t part of the {Plugin} bundle, to use this function you must have the WPML plugin.
Translating Text Content
To be able to fully integrate the translation functionality of WPML plugin:
- Once you have installed the WPML plugin, go to WPML > Translation Management. Choose the Multilingual Content Setup tab and click on Use the translation editor radio button then save.
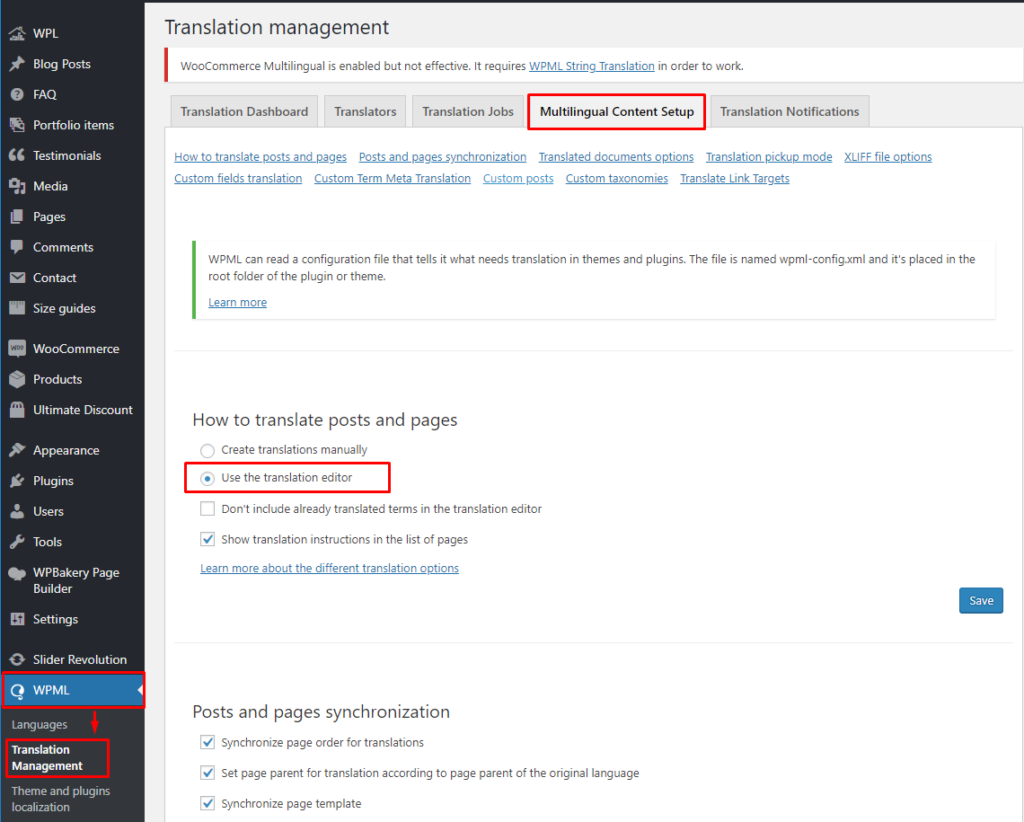
Multilingual Content Setup tab
- Scroll down and look for Custom Fields Translation. Click Show system fields to show all available fields.
- Look for the Size Guide custom field. Then click the Translate radio button beside the custom field.
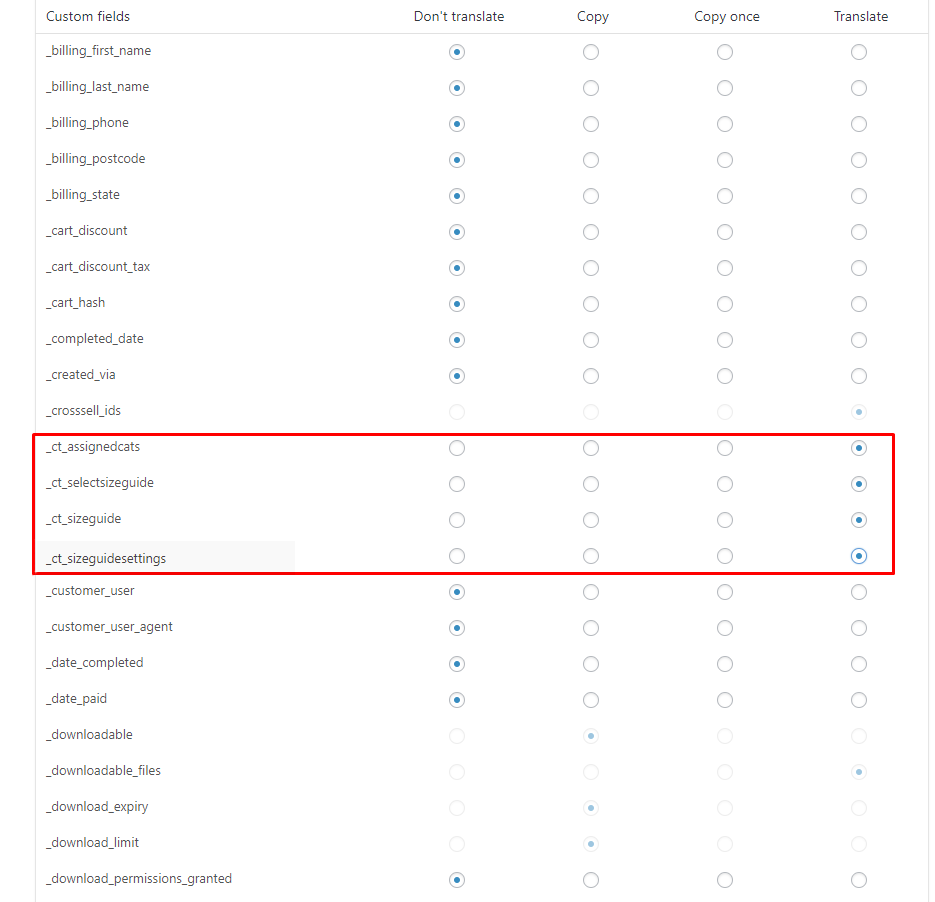
Custom Fields
Custom fields will show when activated/used in the site.
- When you have done all this, go to WooCommerce > WooCommerce Multilingual. You will see all the products available. Choose a product and click on the Plus Sign (+) on the language you would like to add a translation to.
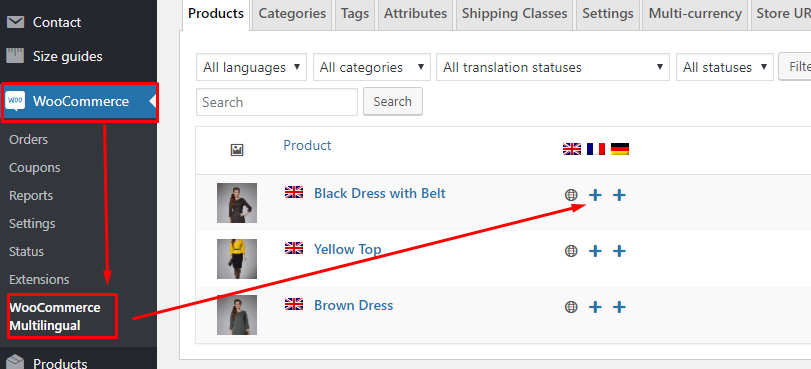
WooCommerce > WooCommerce Multilingual
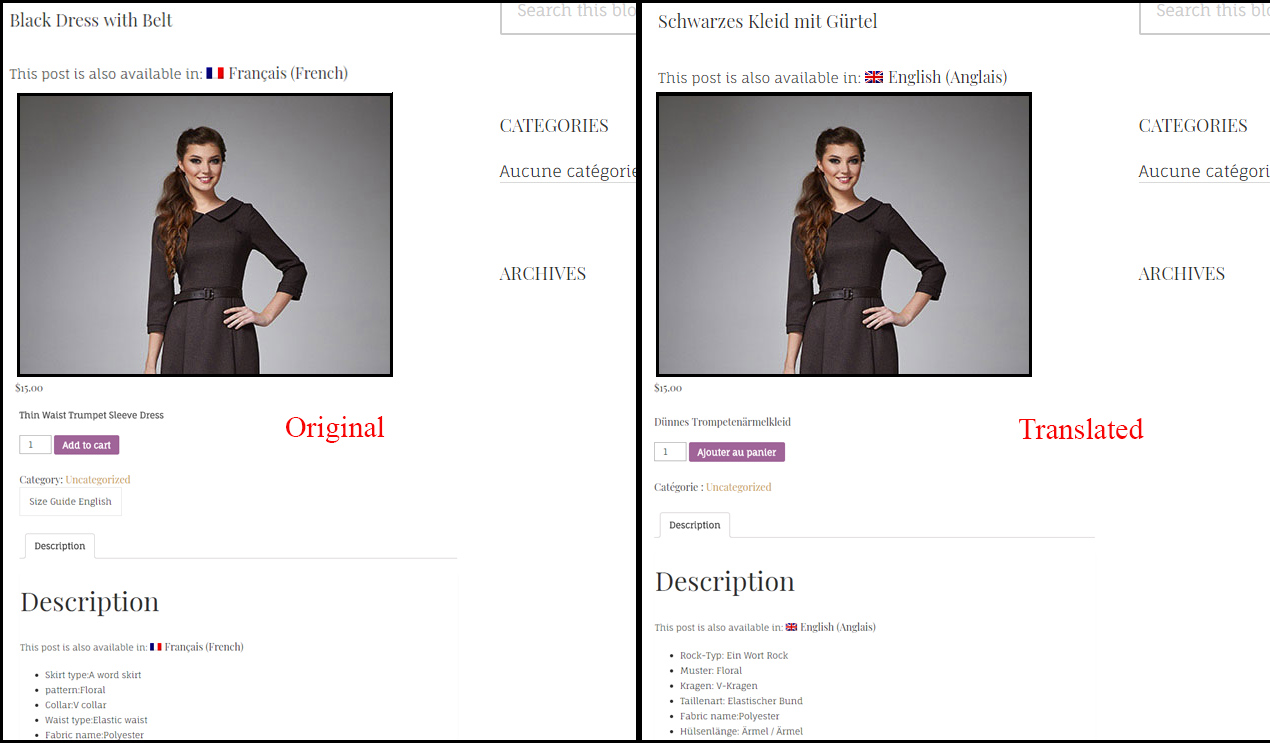
- You will see the Original (English) version of the text content of the product item and an area to add the translation of the language you chose.
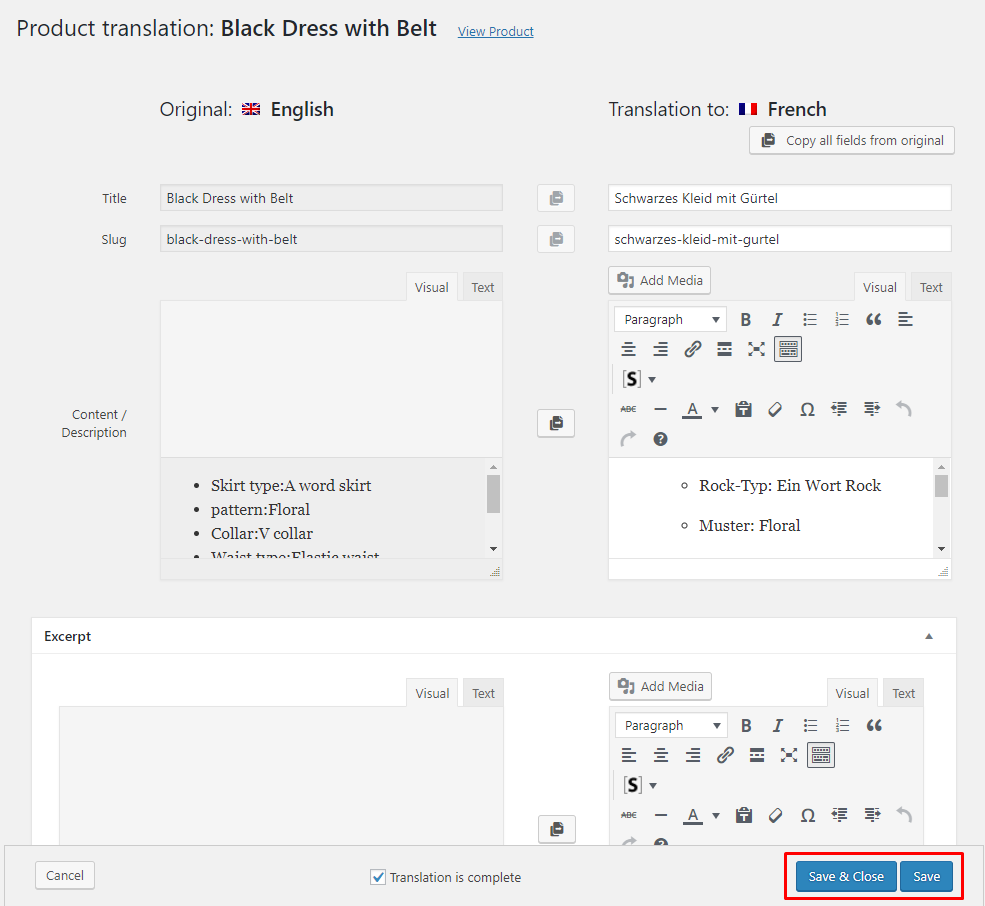
Product Translator
- Add the translation as you see fit, then click the Save button.

Sample

How translate the button
Adding separate size guide label with different languages can be integrated to this plugin.
To make a {Plugin} Label with a different language, follow the steps:
- Step 1 – In WooCommerce > Settings > Size guide settings, Add the label that will be used for the {Plugin} button/link. This will be used later to label what language is going to be used.

- Step 2 – In WPML > String Translation, look for the button/link associated with the {Plugin}, then set the labels for other languages used in the theme.

- Step 3 – Once done, click on Save. The result would be like this:

