To add a new video to your WooCommerce product, please follow the steps below:
Adding a video:
- Open ‘Edit Product’ page
- Open ‘Videos’ tab in ‘Product Data’ metabox
- Click ‘Add Video’ button
- The form with following fields will appear:
- Video Title – you may add a title for your video to keep order in your videos. By default the id is set as a title.
- Enter external video URL – paste a link from one of these sites: https://codex.wordpress.org/Embeds#Okay.2C_So_What_Sites_Can_I_Embed_From.3F but only Youtube and Vimeo will be responsive and will have autoplay option.
- Or upload a video – instead of using external links, upload your own video via media library (it will not work if the previous field is not empty). MP4 is the safest format, but it’s reccomended to upload .webm or .ogg (or both) as well to make sure it will play in every browser. To convert the video files you can use one of the free online converters like this one: http://www.online-convert.com/ . If wrong format will be chosen, it will not be saved. If you want to choose already uploaded video, you can change ‘All media items’ to ‘Video’ in upper left corner of media library box, to choose only from videos. Uploaded videos will be responsive.
- Video Location:
– Tab – create a new tab, next to the Product description – video will be displayed inside the tab,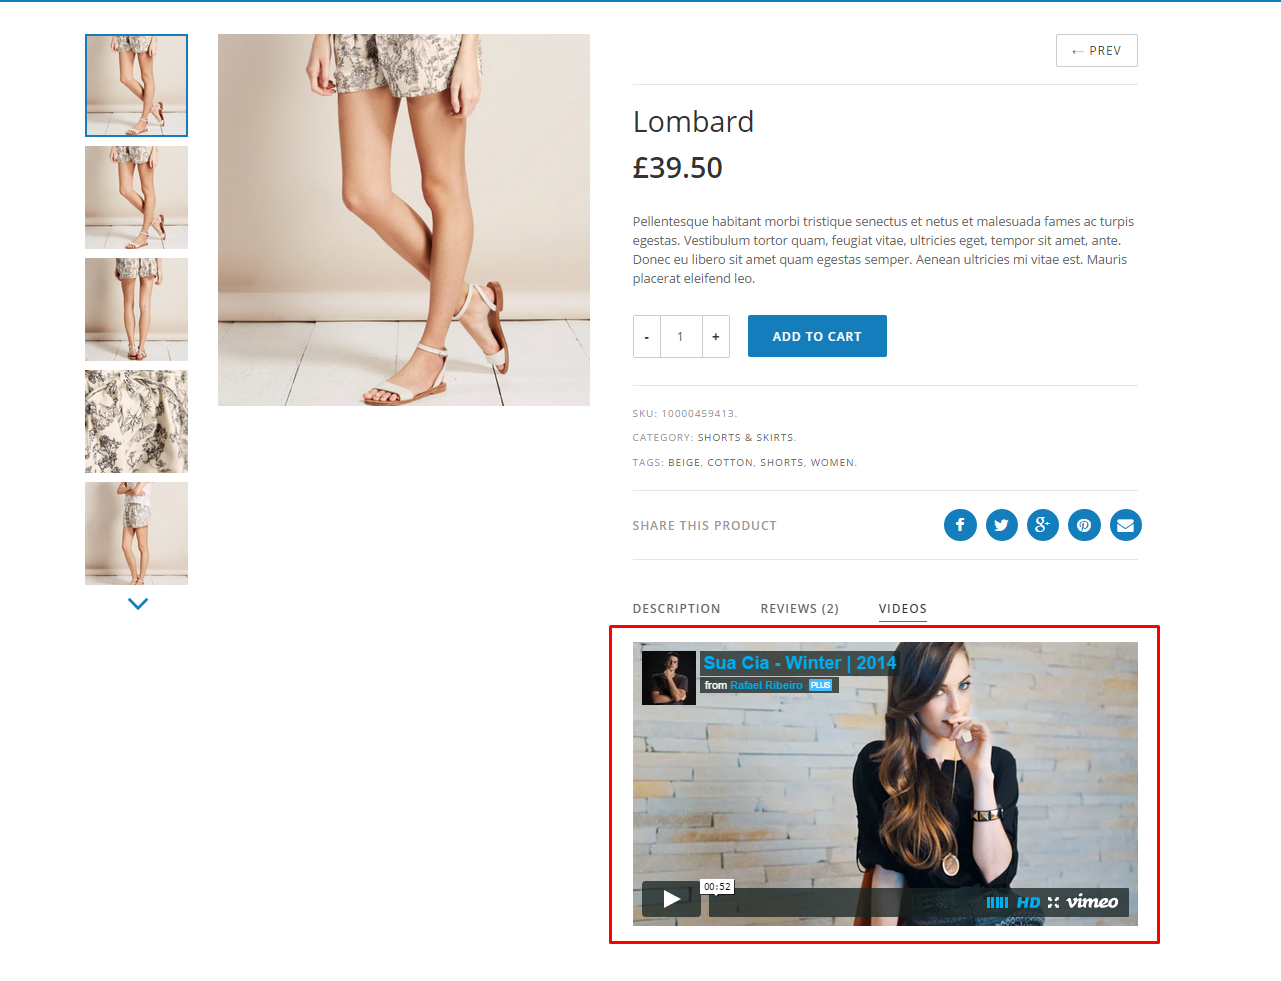
Video embed in tab
- – Image Gallery – video will be added to product images gallery (you must set a thumbnail in a further field)
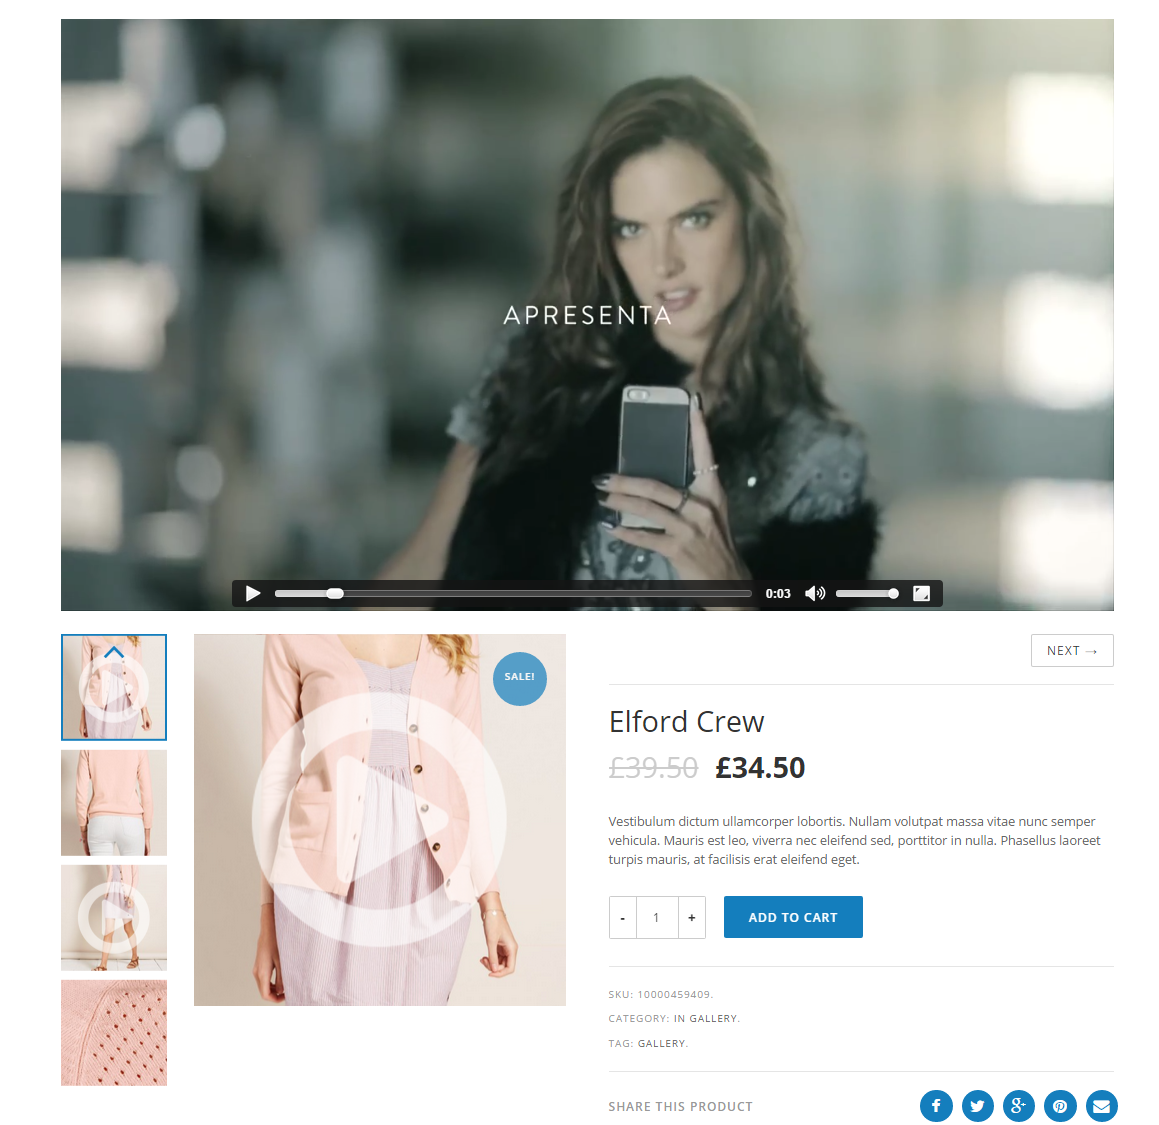
Gallery video
– Popup Button – a button will appear on the site, after clicking it will display full width video in popup window. A new section with button settings will appear below.
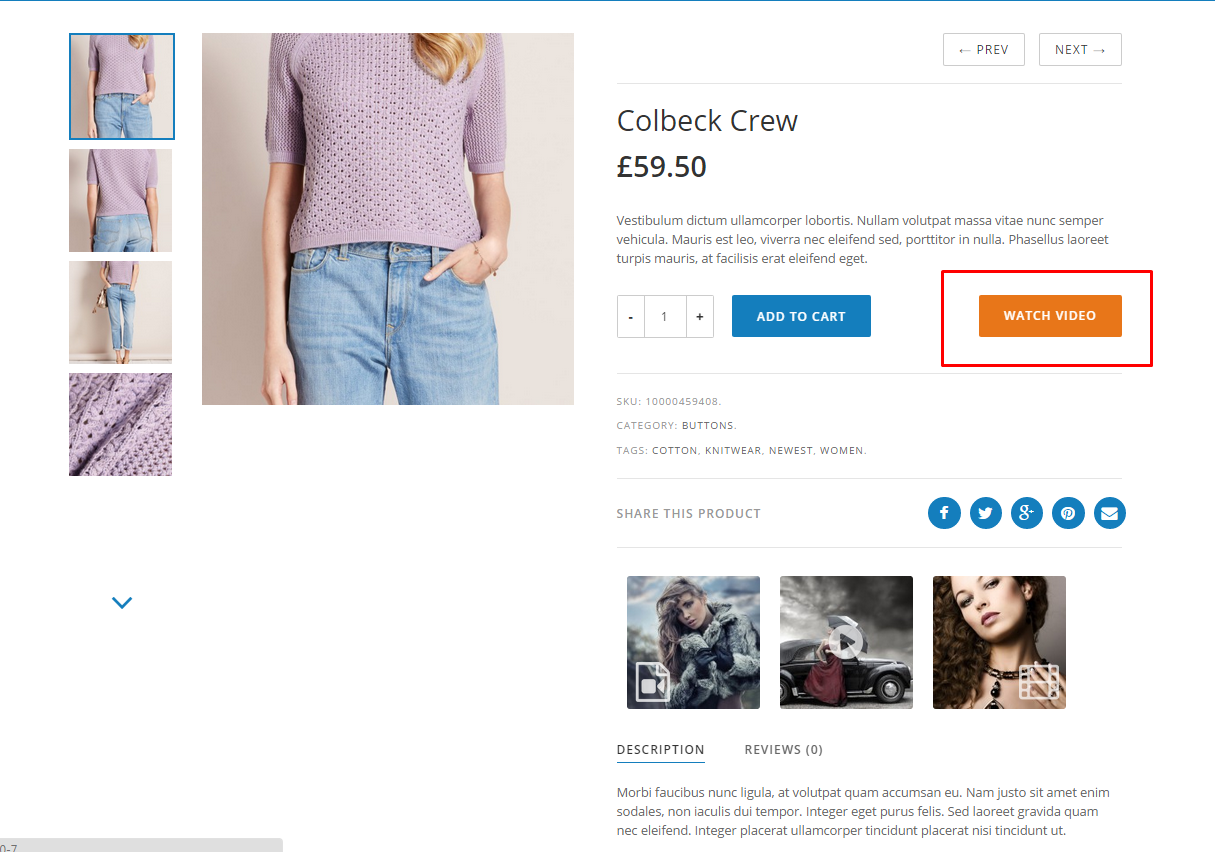
Video added with Popup Button
– Shortcode – information with shortcode to paste will appear below. [ct_woovideo id=’3′] – the only attribute is videos id that points to the proper video. All other settings should be set in this panel. You can paste the shortcode in the product description or in some other text field if it’s available.
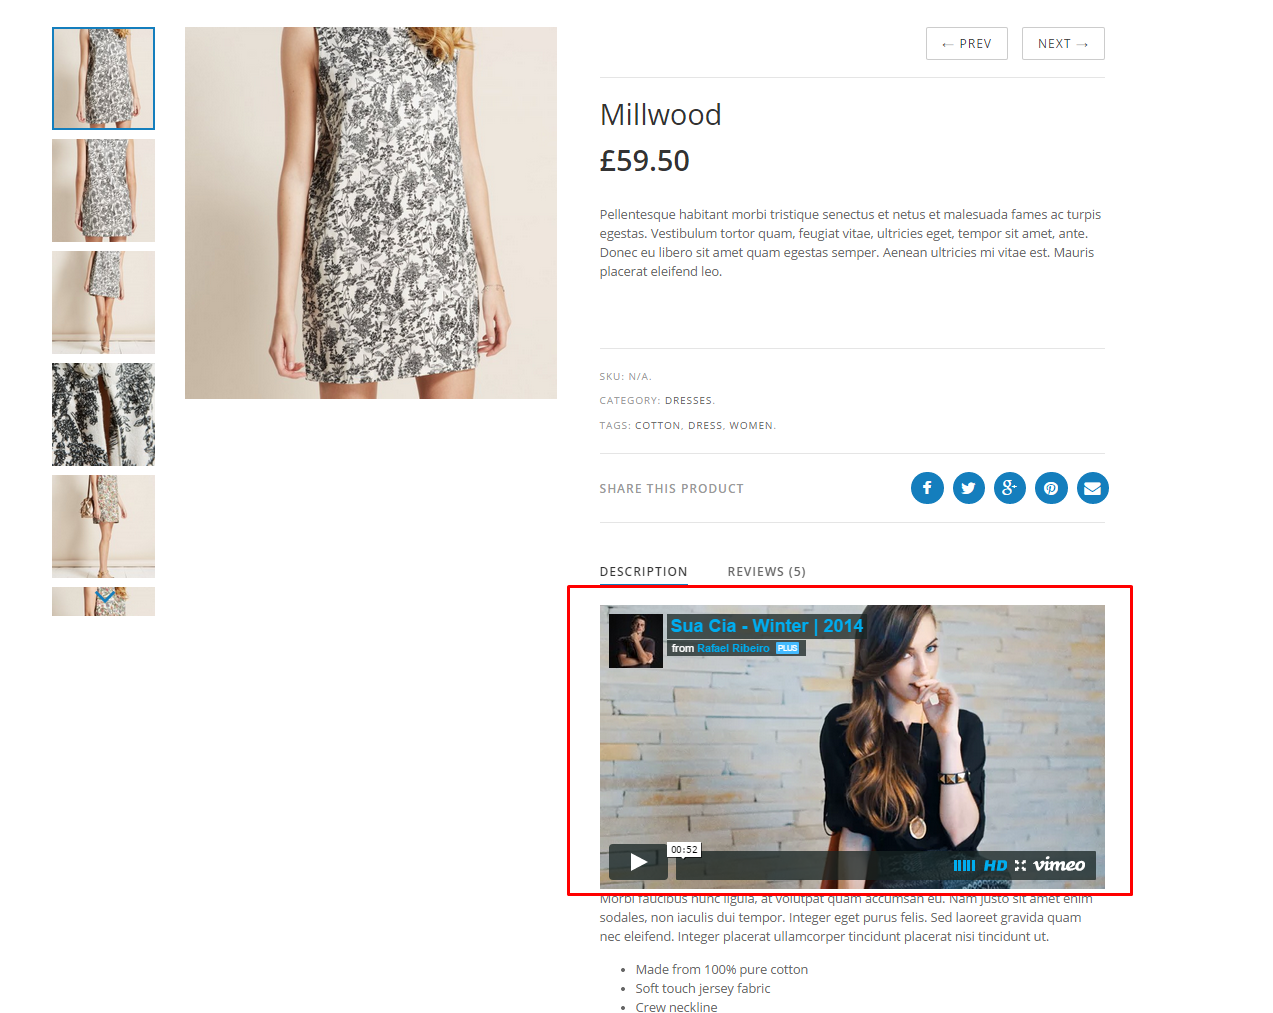
Add a video whenever you want with Shortcode
- Location priority – changes the action or filter priority so it will change the position in relation to other elements that are connected with the same hook. For example setting it to 1 and setting location to ‘tab’ will create a tab on the first place.
- Add a custom video class – add your class to video container.
- Video max height and width – will add css max-height and width in px. Use to reduce videos size. May be also useful if video does not display correctly (may happen when link embedded from external – not youtube and vimeo – site).
- Autoplay – videos will play automaticly when page is loaded or popup button/tab/gallery thumbnail clicked. Will work only with uploaded videos, Youtube and Vimeo.
- Video align – will add css float. It’s best to set it to ‘none’ to avoid display problems especially when video location is set to ‘Popup Button’. May be useful to adjust video position in various themes.
- Video clearing – will add clearfix div under the video. May be useful when video location is set to ‘tab’ and tabs are broken after adding the video (which may occur in some themes) or when other display problems occur.
- Margins – will add css margin-left, margin-top etc. in px. May be useful to adjust videos position.
- Upload a thumbnail – upload an image that will be used as a thumbnail if video location is ‘Image Gallery’ or a ‘Popup Button’ with label set to ‘Thumbnail’. Otherwise may be left empty.
- Select thumbnail icon – if thumbnail is uploaded, you may choose an icon to appear on the thumbnail to distinguish the video thumbnail from others.
- Icon size – will set the icon size in % in relation to thumbnails size (will be responsive).
- Icon position in thumbnail – may be set to center, or one of the corners (if corners it’s better to reduce the icon size)
- Icon opacity – set the icon opacity
Popup button settings:
- Button location – set the location
- Location priority – set priority
- Button color – button background color
- Button text color – button text color
- Button label:
– Title – use the video title which has been set in the field above
– Thumbnail – use the image as a background, thumbnail has to be set in the field above
– Custom – input it in the text field below - Button align, button clearing, margins, paddings, border radius – will adjust buttons display properties through css.
- Height, Width – may be set instead of padding when button label is set to ‘thumbnail’
- After setting up videos press ‘Save Videos’ button or otherwise you’ll loose all the changes.
- Press ‘Remove’ to delete the video. After confirming it can’t be undone (you do not need to press ‘Save Videos’ to save removing).
- On top in bulk options you can remove all videos, or restore settings to default.
- Also each video has a button: ‘Restore default video settings’ and ‘Restore default button settings’. You can set defaults in WooCommerce -> Settings -> Woovideo -> Video Settings/Popup Button Settings.
- In Popup Button Settings you can set in addition the ‘popup overlay color’ which will be the color of the background for popup videos.
- In ‘Add video to product list’ you can add a video that will appear on top of the product list in your shop.